FAQ for using Chlorine Dioxide in vehicles
Which FSE products are used for a cigarette car?
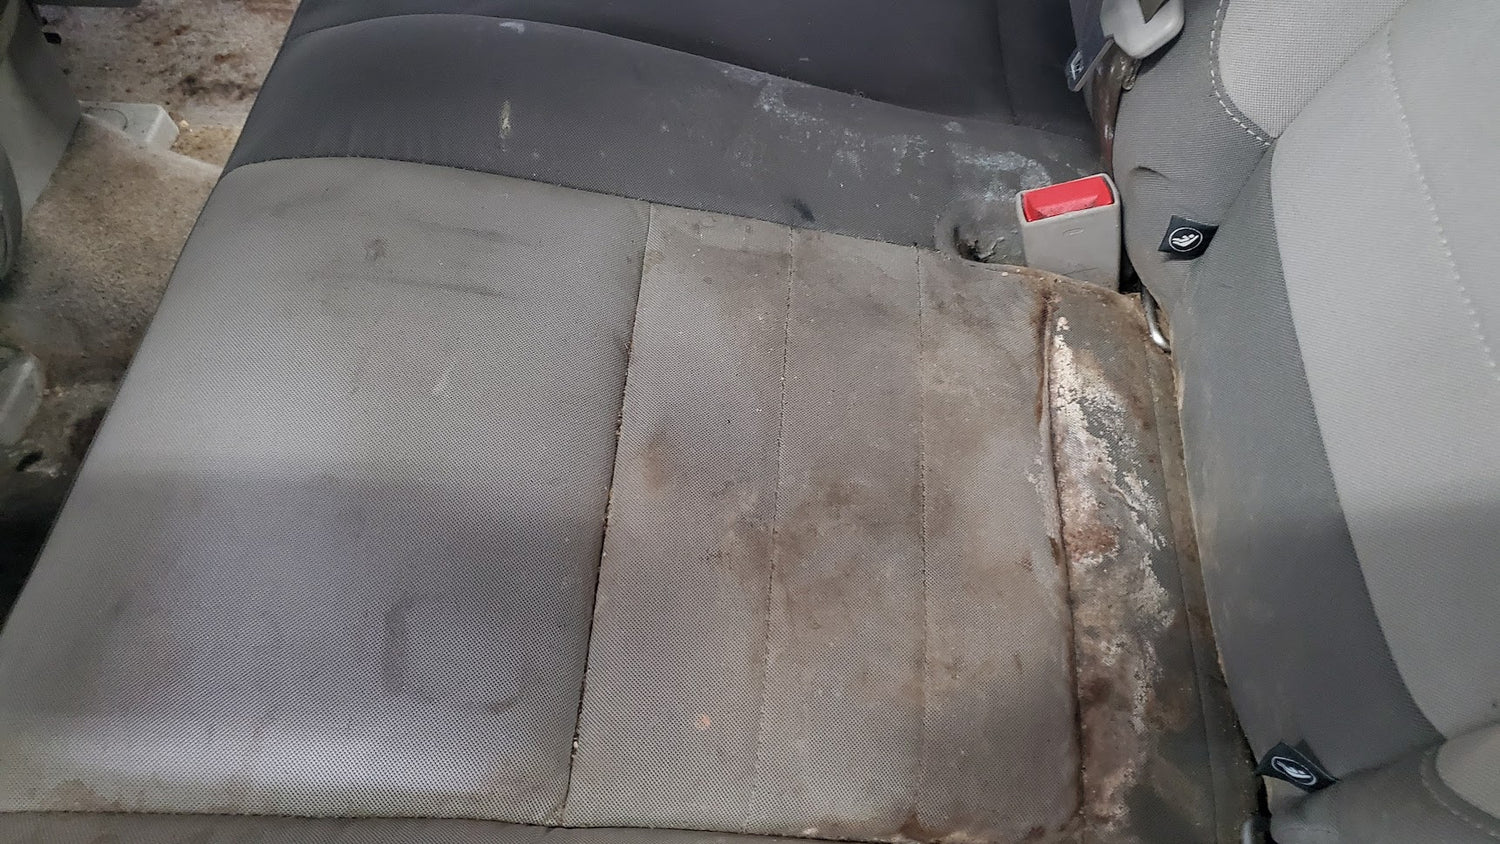
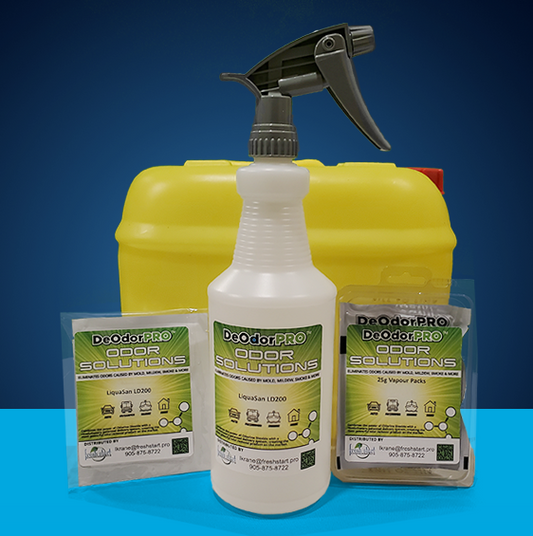
LiquaSan is used on all hard surfaces, plus the vents, seat belts, headliner, carpets, and seats. Removes stains and smell. Clean the dash and all hard surfaces first and while it is still damp, use a gas kit overnight for that 1-2 punch against any cigarette, canabis or cigar smell.
Will LiquaSan bleach my interior
Absolutely not!
Is LiquaSan safe to use on leather?
Yes. Spray it down and let it sit for 5 minutes then wipe clean with a microfibre towel.
Can you use LiquaSan in an extractor?
Absolutely with the heat turned off. Hot water will kill Chlorine Dioxide
What do you do for dog smells in vehicles?
If it is a wet dog smell then dry the vehicle out thoroughly. Then use LiquaSan on the carpets...leave to dry on its ows preferably or wipe clean with a micro fibre towel.
Gas the car overnight.
How do you use a gas kit in a vehicle?
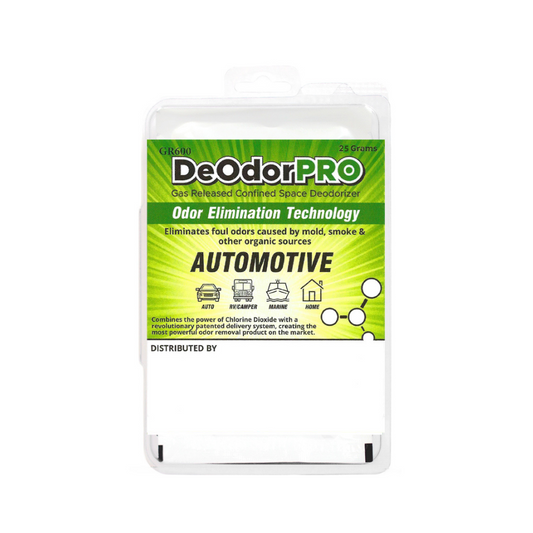
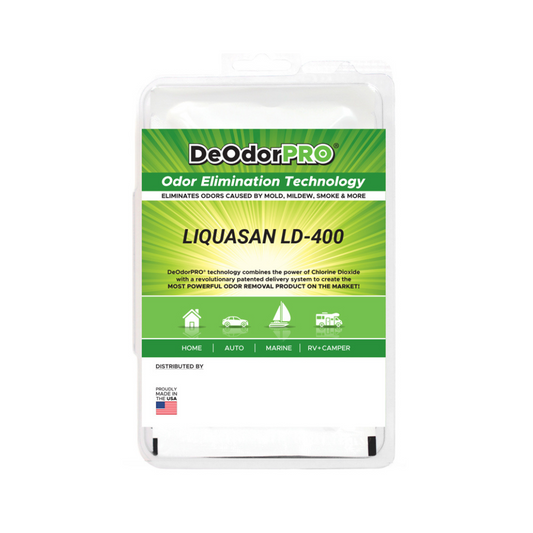
The gas kit is a plastic tray that comes in 3 different sizes. Add hot tap water to a fill line in the container and drop the sponge 'blue side down' and leave overnight. In the morning, open all the doors and then reach in and close up the container, remove it and throw it away. Leave the doors open for about an hour or two to air out the vehicle
Are the Chlorine Dioxide gas kits the same as Ozone?
Not at all!
Ozone is very dangerous if inhaled and can scar lung tissue permenantely and requires expensive machinery to generate it. Chlorine Dioxide is a lung irratent and is just a plastic tray that you add hot tap water to and drop in a sponge. No equipment is needed at all.
How does Chlorine Dioxide work in a vehicle?
Chlorine Dioxide is a scavenger when it comes to odour causing molecules (microbes) and is magnetically attracted to them and hunts them down, pulls the ions from the microbe, disrupts the cell membrane killing it permently and then turns it into a microscopic saline.
How do you freshen vents with LiquaSan?
First remove the cabin air filter in a smoking car or very musty, old smelling car. Locate the intake vent unterneath the glove box and put the car on upper mode and recirc. Close up all the upper vents and put the fan speed on 3.
Spray 3 - 5 squirts of LiquaSan into the lower vent or you can spray into the area where the cabin air filter was removed from.
Open up the vents and smell how fresh they are now!
Automotive Protocols for Use
Eliminate ALL Smoke/Vape Smells
AUTOMOTIVE PROTOCOL
Smoker’s Vehicle
Pg. 1
The following protocol is recommended for any vehicle that has been smoked in. The vents and headliners are the two most important areas to treat.
1. Mix LiquaSan® in a two-gallon sealed container. Follow the instructions which are provided with each packet. Let the pouch soak for a min of 4 hours.
2. Roll down all windows before treatment if the vehicle is dry inside.
3. A moisture meter is great for checking how wet the carpets really are. If necessary, set up fans to dry the interior with the air blowing across the carpet to mimic a puddle on a windy day. The air passes over the carpet and pulls the water out. Open the driver’s door and set the fan up down low to the carpet and then close all the windows except the passenger rear window which is open about 6 inches. This creates a swirling vortex in the vehicle and a way for the moist air to escape.
4. Remove the cabin air filter and discard it if it has not been done in a while.
5. Vents: – Throw out the cabin air filter. Turn the fan on to medium and close all the vents. Turn the fogger on #1 (a light mist) or spray bottle on heavy mist. Set the fan to recirculate in the upper vent position. Locate and spray LiquaSan into the air intake located under the dash on the passenger side with 3 or 4 good sprays or about 3 seconds with the fogger. Adjust the fan settings to ensure all passages have been treated. If the smoke smell is still present, it is trapped in a different passageway in the vent.
6. Take it off recirculate and turn on fresh air and go outside the vehicle and locate the fresh air grill and spray into it moving along the vehicle. Also, pop the hood and spray into the heating and ventilation fresh air intake vents/grill located at the base of the windshield under the hood. Keep the fan on and spray directly into the holes, also moving across the vehicle.
7. Finally spray right into the vents with them open and the car turned off. Leave for a couple of minutes and then turn the vehicle back on and smell the difference.
8. Thoroughly vacuum the entire vehicle.
9. Spray the entire headliner thoroughly with LiquaSan®, especially where it attaches to the windshield. If there is a gap, spray up inside from one end to the other. The smoke smell has traveled up to the other side of the headliner and will wake up once the roof is heated by the sun. If there is a sunroof, spray up into all 4 edges with the shade open. This is another way for the smoke to stick to the other side of the headliner.
10. After a few minutes of contact time, wipe the headliner, handles, and lights with a microfibre cloth. The yellow will be released from the fabric in globes.
11. LiquaSan® is safe for all leather, vinyl, and suede surfaces BUT do not leave to dry. Wipe after 2-3 minutes.
12. Gassing instructions on the second page.
Gassing Protocol with Interior Gas Kits
Note: Interior must be a minimum temperature of 8
Celsius or above.
On cold days, it is often helpful to turn on the heat
in the vehicle and get the interior very warm. Let the heat run on high until
warm inside and then follow the steps outlined below. Directions provided with
each gas packet. Treatment must be done out of sunlight as UV rays kill the
Chlorine Dioxide molecule.
1. Depending upon the intensity of odour, set up the necessary size and amount of vapour kits. 100g, 50g or 25g kits are available.
2. Alway splace gas kits up high and never on the carpet. Recomended areas to place gas kits - front dash, middle console, rear console or rear window ledge.
3. Leave for a minimum of 12 hours or more. Immediately after fogging preferably as it elevates humidity, an ideal environment for Clo2. The longer the better!
4. Use only HOT tap water and fill to the fill line on the tray. Place blue side of the sponge down in tray.
5. When complete, open all the doors and let the residual gas escape for about 1 minute, close kits and remove without spilling any residual water that is now yellow and COULD BLEACH!
6. Open all doors and air out for 1 hour after treatment.
Eradicate Rodent Infestation
The following protocol is recommended for rodent infested vehicles that smells
1. Mix LiquaSan® in two-gallon sealed container. Follow the instructions which are provided with each packet.
2. Ensure that all the mouse nests are out. If for example a seat has been chewed, look for nests that equal that volume of material. There are more than one in most cases so keep looking.
Also set up sticky traps overnight to ensure the mice are gone. All areas where nests have
been found MUST be sprayed and cleaned with LiquaSan®. Also ensure that all carpet and
upholstery are dry and ready for treatment. A moisture meter is great for checking how wet they really are. If necessary, set up fans to dry interior.
3. Clean out all garbage, ashtrays, and storage compartments. Visually inspect areas like the spare tire compartment and all storage areas to ensure that nothing has been left that can emit odour. Give vehicle a thorough vacuum as mice drop feces as they travel.
4. Remove cabin air filter and discard.
5. Vents: – Turn the fan on med and close all the vents. Turn the fogger on #1 (a light mist) or spray bottle on heavy mist. Set the fan to recirculate and in the upper vent position. Locate and spray LiquaSan® into the air intake located under the dash on the passenger side with or 4 good sprays or about 3 seconds with the fogger. Adjust the fan settings to ensure all passages have been treated. If mice smell is still present, there are other nests still present. Heater box and upper cowling are popular areas for mice.
6. Thoroughly vacuum the entire vehicle.
7. For urine saturate seats, soak with LiquaSan® and let dry while gassing.
Thoroughly fog ENTIRE vehicle with LiquaSan®, including carpet, visors, headliner and seat belts. Reach into nooks and crannies as mice urinate as they walk. Stains may be sprayed, give a light scrub, left for 10-15 min. then wiped, then reapply LiquaSan®lightly and leave.
8.LiquaSan® is safe for all leather and vinyl surfaces BUT do not leave to dry. Wipe after 2-3 minutes.
Gassing Protocol with Interior Gas Kits
Note: Interior must be a minimum temperature of 8
Celsius or above.
On cold days, it is often helpful to turn on the heat
in the vehicle and get the interior very warm. Let the heat run on high until
warm inside and then follow the steps outlined below. Directions provided with
each gas packet. Treatment must be done out of sunlight as UV rays kill the
Chlorine Dioxide molecule.
1. Depending upon the intensity of odour, set up the necessary size and amount of vapour kits. 100g, 50g or 25g kits are available.
2. Alway splace gas kits up high and never on the carpet. Recomended areas to place gas kits - front dash, middle console, rear console or rear window ledge.
3. Leave for a minimum of 12 hours or more. Immediately after fogging preferably as it elevates humidity, an ideal environment for Clo2. The longer the better!
4. Use only HOT tap water and fill to the fill line on the tray. Place blue side of the sponge down in tray.
5. When complete, open all the doors and let the residual gas escape for about 1 minute, close kits and remove without spilling any residual water that is now yellow and COULD BLEACH!
6. Open all doors and air out for 1 hour after treatment.
Neutralizing Pet Odours
AUTOMOTIVE PROTOCOL
Pet vehicles
Pg. 1
The following protocol is recommended
for a vehicle that has a strong dog/cat smell
1. Mix LiquaSan® in a two-gallon sealed container. Follow the instructions which are provided with each packet. Let the pouch soak for a min of 4 hours.
2. Roll down all windows before treatment if the vehicle is dry inside.
3. A moisture meter is great for checking how wet the carpets really are. If necessary, set up fans to dry the interior with the air blowing across the carpet to mimic a puddle on a windy day. The air passes over the carpet and pulls the water out. Open the driver’s door and set the fan up down low to the carpet and then close all the windows except the passenger rear window which is open about 6 inches. This creates a swirling vortex in the vehicle and a way for the moist air to escape.
4. Remove the cabin air filter and discard it if it has not been done in a while.
5. Vents: – Turn the fan on to medium and close all the vents. Turn the fogger on #1 (a light mist) or spray bottle on heavy mist. Set the fan to recirculate in the upper vent position. Locate and spray LiquaSan into the air intake located under the dash on the passenger side with 3 or 4 good sprays or about 3 seconds with the fogger. Adjust the fan settings to ensure all passages have been treated.
If the pet smell is still present, it is trapped in a different passageway in the vent and proceed to and 7, otherwise you are done.
6. Take it off recirculate and turn on fresh air and go outside the vehicle and locate the fresh air grill and spray into it moving along the vehicle. Also, pop the hood and spray into the heating and ventilation fresh air intake vents/grill located at the base of the windshield under the hood. Keep the fan on and spray directly into the holes, also moving across the vehicle.
7. Finally spray right into the vents with them open and the car turned off. Leave for a couple of minutes and then turn the vehicle back on and smell the difference.
8. Thoroughly vacuum the entire vehicle. Use a Fur Rock to remove any hair in tandem with a vacuum.
9. Spray the entire headliner and vehicle thoroughly with LiquaSan® also spray area where pets lie.
10. After a few minutes of contact time, wipe with a microfibre cloth then respray and leave to dry. Same process applies if there is a urine/vomit smell or stain.
11. LiquaSan® is safe for all leather, vinyl, and suede surfaces BUT do not leave to dry. Wipe after 2- minutes.
12. Gassing instructions on the second page if necessary.
Disinfecting Ambulances and Medic Vans
AUTOMOTIVE PROTOCOL
Ambulances and Medic Vans
Hospital Grade & Health Canada Approved
The following protocol using Selectrocide (Chlorine Dioxide) is
recommended for vehicles that exhibit an odour or ongoing disinfecting
purposes.
1. Mix Selectrocide in two-gallon application. Follow the instructions for mixing which are provided with each packet of Selectrocide. (Remove ‘Sachet” from the water after 2 hours. Make sure the opening in the container you are using is wide enough to remove the ‘sachet in a swollen state. Uline 5-gallon screw off lids with spigot are recommended.)
2. Roll down all windows before treatment.
3. Ensure that all carpet and upholstery are completely dry and ready for treatment. A moisture meter is recommended for checking how wet they really are. If necessary, set up fans to dry interior.
4. Clean out all garbage, ashtrays, and storage compartments. Visually inspect areas like the spare tire compartment and all storage areas to ensure that nothing has been left that can emit odour.
5. Remove cabin air filter and discard if it has not been done in a while, otherwise, leave in place.
6. Decontaminating and sanitizing vents–Turn the fogger on #1 (a light mist) or spray bottle on heavy mist. Set the fan to recirculate and in the upper vent position. Locate and spray Selectrocide into the air intake located under the dash on the passenger side with 3 or 4 good sprays or about 3 seconds with the fogger. Adjust the fan settings to ensure all passages have been treated. Also kills mould on compressors and gets rid of musty smells.
7. Thoroughly vacuum or sweep out the entire vehicle.
8. Thoroughly fog all cloth, carpet, visors, headliner, seat belts, equipment, handrails, cots, and wheelchairs with Selectrocide. Note: All surfaces that are safe to wipe with water are safe to treat with Selectrocide.
9. Stains (Blood) may be sprayed and left to dry. Saturate urine or vomit (remove and clean with Selectrocide surface vomit) -saturate pads and let dry.
10. Selectrocide is safe for all leather and vinyl surfaces BUT do not leave to dry. Wipe after 2-3 minutes.
11. Safe to use daily for ongoing disinfection. Spray and wipe if necessary or just mist and let dry. Chlorine dioxide prefers to be left alone. The killing starts as it is drying.
Full Gassing Protocol (Printable)


